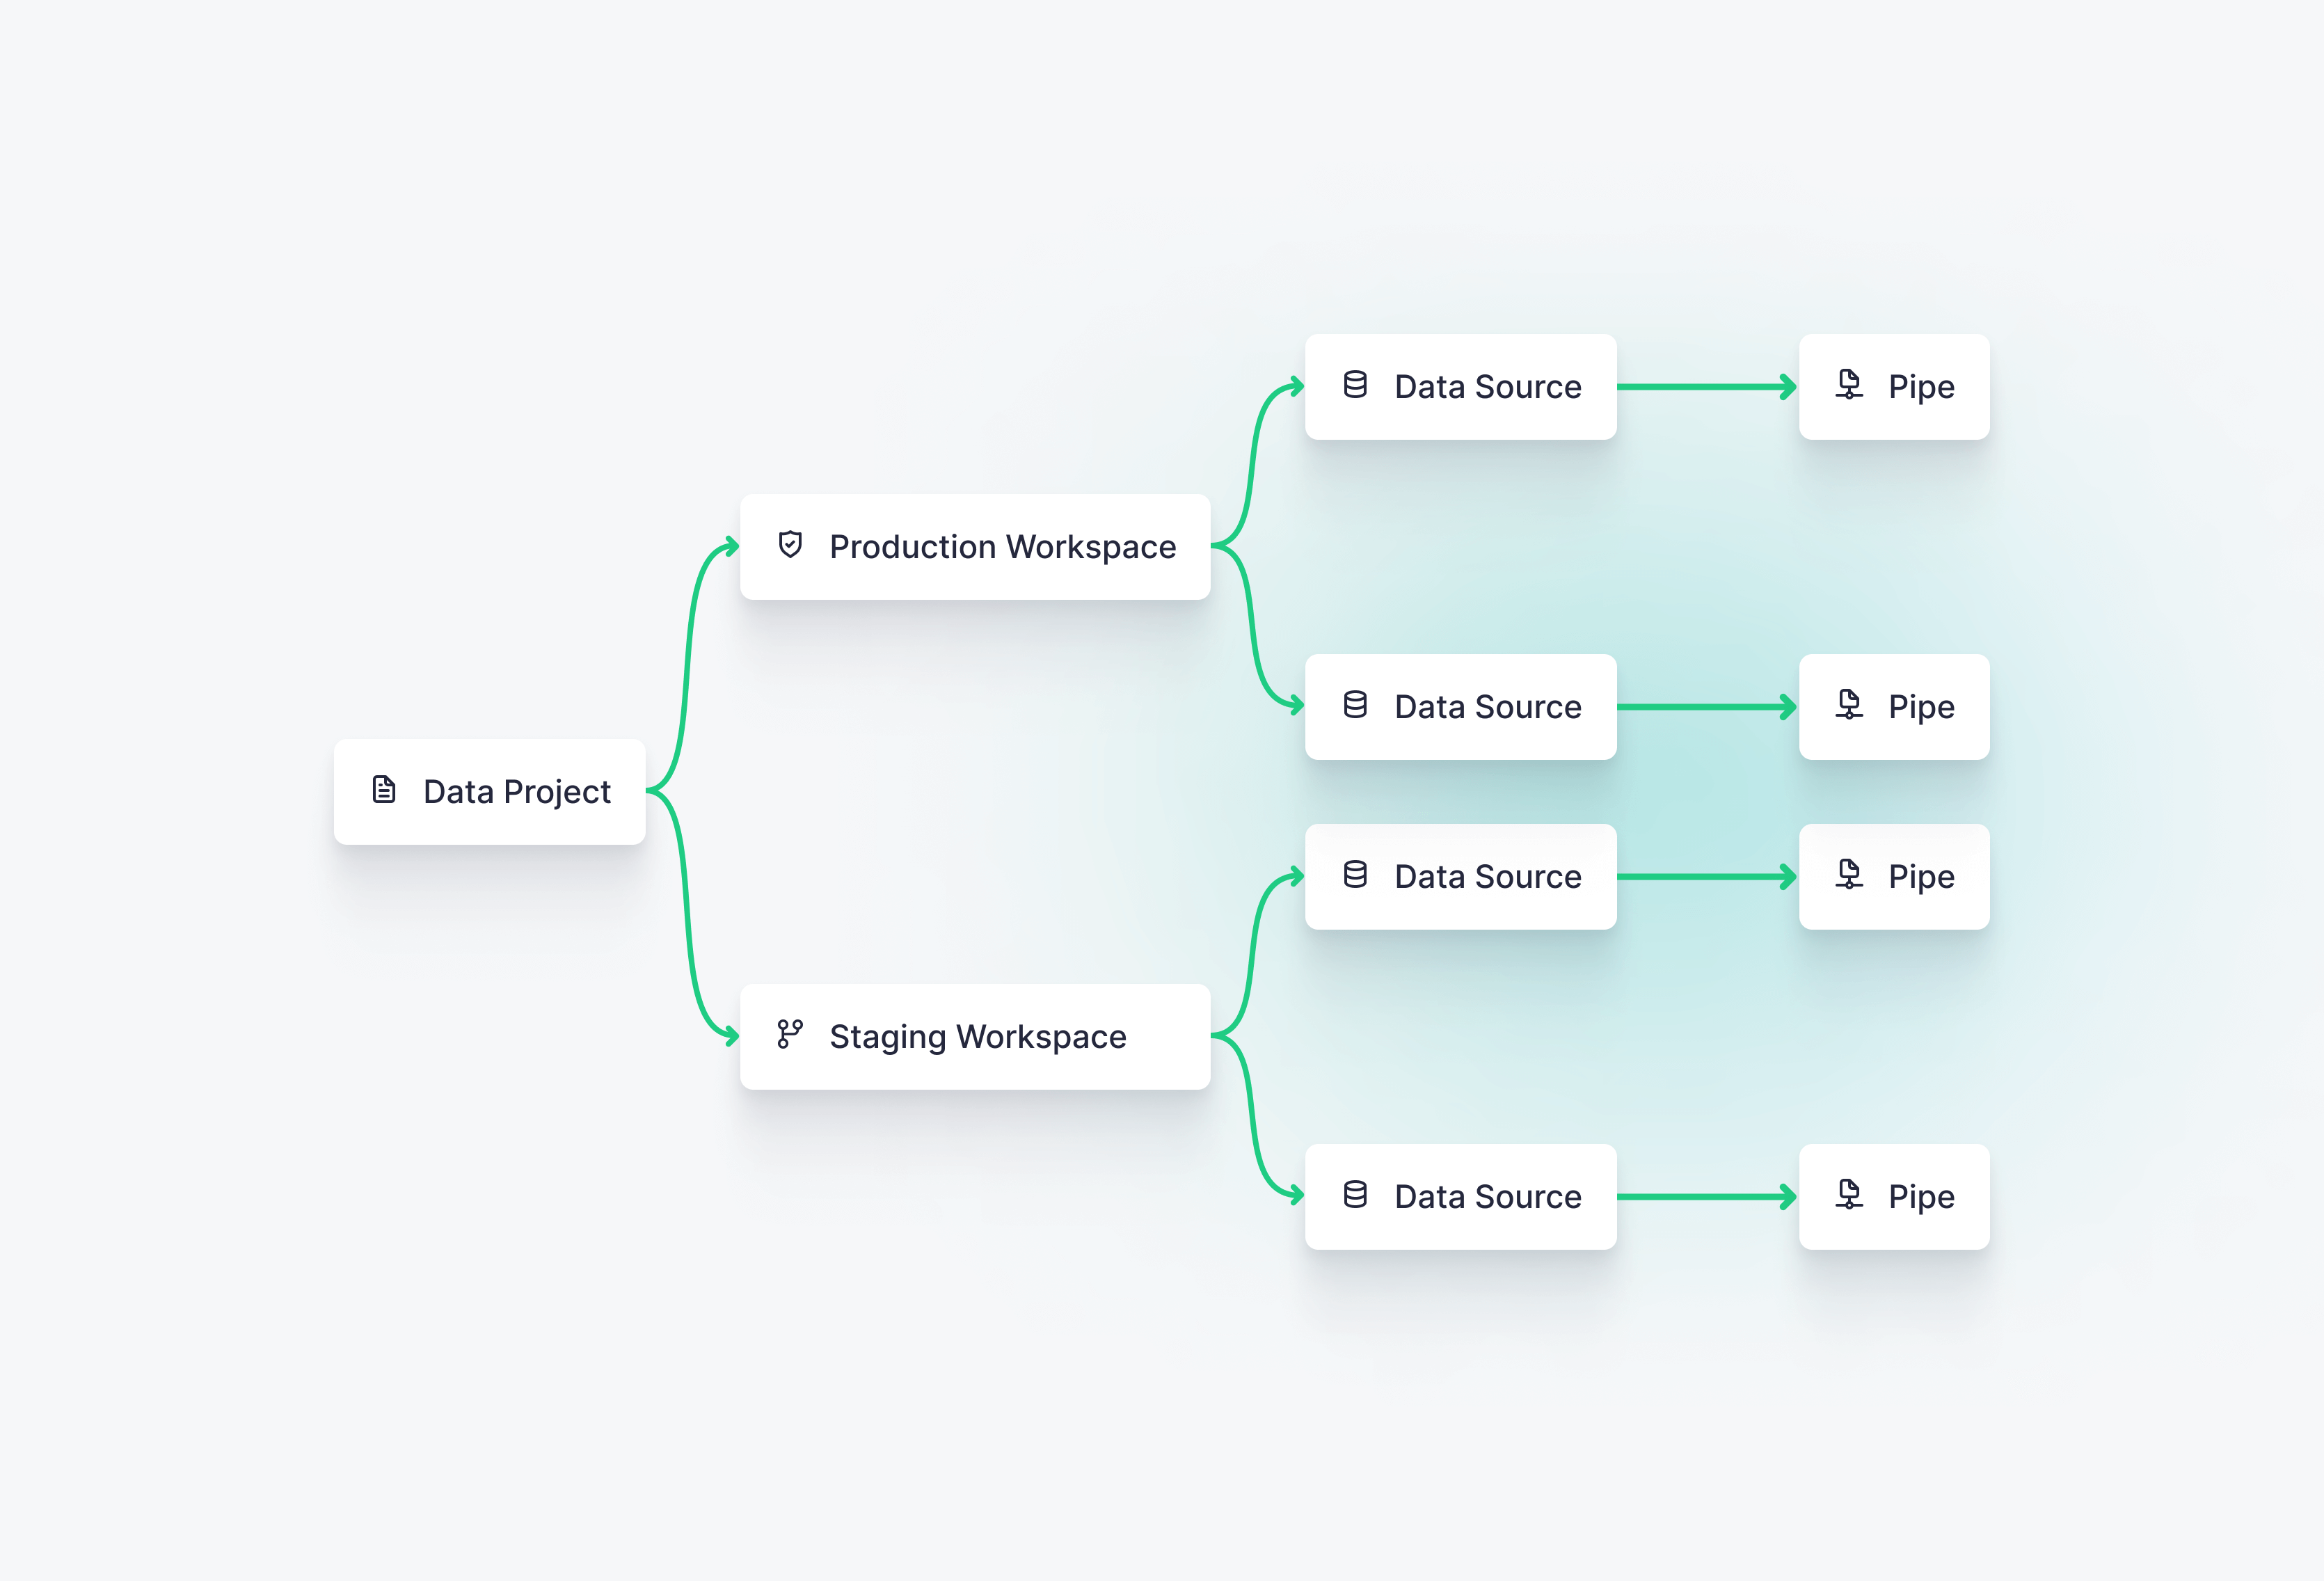
Staging and production Workspaces
Tinybird projects can be deployed to multiple Workspaces that contain different data or different connection settings. You can use this to create production and staging environments for your project.
Keep your Workspaces clear and distinct. While you can deploy a project to multiple Workspaces, you should avoid deploying multiple projects to the same Workspace.
This page covers how to set up a CI/CD workflow with staging and production Workspaces. This setup includes:
- A staging Workspace with staging data and connection settings, used to validate change to your project before deploying to production.
- A production Workspace with production data and connection settings, used to serve your data to real users.
- A CI/CD workflow that will run CI over the staging Workspace, deploy manually to the staging Workspace, and finally automatically promote to the production Workspace upon merge.
Example project setup
Create a staging and production Workspaces and authenticate using your Workspace admin Token.
tb workspace create staging_acme --user_token <token>
tb workspace create pro_acme --user_token <token>
Push the project to the production Workspace:
tb workspace use pro_acme
tb push --push-deps --fixtures
Finally, push the project to the staging Workspace:
tb workspace use staging_acme
tb push --push-deps --fixtures
Once you have the project deployed to both Workspaces make sure you connect them to Git by:
- Running
tb authusing the admin token of the Workspace. - Running
tb init --gitto connect the Workspace to your git main branch.
You'll need to run both steps twice (once for each Workspace).
When running tb init --git you need to make sure you end up with a setup like this one:
tinybird_ci_stg.yml: Runs CI over the staging Workspace.tinybird_cd_stg.yml: Runs CD over the staging Workspace. You can run this job manually or following any other strategy.tinybird_cd.yml: Runs CD over the production Workspace on merge a branch to the main git branch.
Configuring CI/CD
The following CI/CD jobs are based on the examples in the Continuous Integration section.
A common pattern is to run CD in the staging Workspace before moving to production.
Below is an example of a GitHub Actions workflow that will perform CI/CD on the staging Workspace.
name: Tinybird - Staging CI Workflow

on:
  workflow_dispatch:
  pull_request:
    paths:
      - './**'
    branches:
      - main
    types: [opened, reopened, labeled, unlabeled, synchronize, closed]

concurrency: ${{ github.workflow }}-${{ github.event.pull_request.number }}
jobs:
  staging_ci:  # run CI to staging Workspace
    uses: tinybirdco/ci/.github/workflows/ci.yml@main
    with:
      data_project_dir: .
      tb_env: stg
    secrets:
      tb_admin_token: ${{ secrets.TB_ADMIN_TOKEN_STG }}  # set the Workspace admin Token from the staging Workspace in a new secret
      tb_host: https://app.tinybird.co
name: Tinybird - Staging CD Workflow

on:
  workflow_dispatch:
jobs:
  staging_cd:  # deploy changes to staging Workspace
    uses: tinybirdco/ci/.github/workflows/cd.yml@main
    with:
      data_project_dir: .
      tb_env: stg
    secrets:
      tb_admin_token: ${{ secrets.TB_ADMIN_TOKEN_STG }}  # set the Workspace admin Token from the staging Workspace in a new secret
      tb_host: https://app.tinybird.co
The important part is that you are using the admin token from the staging Workspace, stored in a secret with name TB_ADMIN_TOKEN_STG. Additionally, you are setting the tb_env variable to stg, usage of the tb_env input variable is described in the next section.
The CD GitHub Action for the production Workspace, would be like this:
name: Tinybird - Production CD Workflow

on:
  workflow_dispatch:
  push:
    paths:
      - './**'
    branches:
      - main
jobs:
  production_cd:  # deploy changes to production Workspace
    uses: tinybirdco/ci/.github/workflows/cd.yml@main
    with:
      data_project_dir: .
      tb_env: prod
    secrets:
      tb_admin_token: ${{ secrets.TB_ADMIN_TOKEN }}  # set the Workspace admin Token from the production Workspace in a new secret
      tb_host: https://app.tinybird.co
In this case, the job will run on merge to the git main branch, using the admin token from the production Workspace and setting the tb_env variable to prod
Workspace connection credentials and environment variables
You'll likely use different credentials or connection parameters for each Workspace, for instance if you have a Kafka topic/S3 bucket/etc. for staging, and a different one for production. Use environment variables to manage these credentials.
If you are using your own CI/CD pipelines see the docs on Include and environment variables.
If you are using the ones provided in this GitHub repository you can follow this strategy:
- Set the
tb_envinput variable as shown in the previous section to a value depending on the environment to be deployed. - Then you have available a
$TB_ENVenvironment to configure connection credentials viaincludefiles as described in this section - Now you can create
connection_details_stg.inclandconnection_details_prod.incland use them inside datafiles like this:INCLUDE connection_details_${TB_ENV}.incl. Since$TB_ENVhas a different value depending on the pipeline for the staging or production environments, resources will be deployed using their environment specific credentials.
You can see a working example here
Staging Workspace vs Branch
Branches are intended to be ephemeral or short-lived. They are useful for testing changes while you are developing them.
Typically, when you begin to develop a new feature, you'll begin by creating a new Branch. Your development work takes place on the Branch, and you can test your changes as you go.
On the other hand Workspaces are intended to be permanent or long-lived. You'll use a Workspace to deploy your project into production, as testing environments or to experiment with new projects.
Staging Workspaces are optional, and different teams might use them differently, for example:
- You don't want to test with your production data, so you have a separate well known subset of data in staging.
- You want to perform integration testing with the development version of your project before moving it to the production Workspace.
- You want to test out a complex deployment or data migration before deploying to the production Workspace.
Next steps
- Learn more about working with version control.
- Learn how to integrate Workspaces with Git in a Continuous Integration and Deployment (CI/CD) pipeline.