Replace and delete data in your Tinybird Data Sources
Update and delete operations are common in transactional databases over operational data, but sometimes you also need to make these changes on your analytical data in Tinybird.
Sometimes, you need to delete or replace some of your data in Tinybird. Perhaps there was a bug in your app, a transient error in your operational database, or simply an evolution of requirements due to product or regulatory changes.
It's not safe to replace data in the partitions where you are actively ingesting data. You may lose the data inserted during the process.
Tinybird works well with append-only workloads but also fully supports replacing and deleting data. It abstracts away the tricky complexities of data replication, partition management and mutations rewriting, allowing you to focus on your data engineering flows and not the internals of real-time analytical databases.
This guide shows you using different examples, how to selectively delete or update data in Tinybird using the REST API. You can then adapt these processes for your own needs.
All operations on this page require a Token with the correct scope. In the code snippets, replace <your_token> by a Token whose scope is DATASOURCES:CREATE or ADMIN.
Delete data selectively
To delete data that's within a condition, send a POST request to the Data Sources /delete API, providing the name of one of your Data Sources in Tinybird and a delete_condition parameter, which is an SQL expression filter.
Delete operations don't automatically cascade to downstream Materialized Views. You may need to perform separate delete operations on Materialized Views.
Imagine you have a Data Source called events and you want to remove all the transactions for November 2019. You'd send a POST request like this:
Delete data selectively
tb datasource delete events --sql-condition "toDate(date) >= '2019-11-01' and toDate(date) <= '2019-11-30'"
Once you make the request, you can see that the POST request to the delete API Endpoint is asynchronous. It returns a job response, indicating an ID for the job, the status of the job, the delete_condition, and some other metadata. Although the delete operation runs asynchronously, the operation waits synchronously for all the mutations to be rewritten and delete the data replicas. Queries reading data either see the state before the operation or after it's complete.
{
  "id": "64e5f541-xxxx-xxxx-xxxx-00524051861b",
  "job_id": "64e5f541-xxxx-xxxx-xxxx-00524051861b",
  "job_url": "https://api.tinybird.co/v0/jobs/64e5f541-xxxx-xxxx-xxxx-00524051861b",
  "job": {
    "kind": "delete_data",
    "id": "64e5f541-xxxx-xxxx-xxxx-00524051861b",
    "job_id": "64e5f541-xxxx-xxxx-xxxx-00524051861b",
    "status": "waiting",
    "created_at": "2023-04-11 13:52:32.423207",
    "updated_at": "2023-04-11 13:52:32.423213",
    "started_at": null,
    "is_cancellable": true,
    "datasource": {
      "id": "t_c45d5ae6781b41278fcee365f5bxxxxx",
      "name": "shopping_data"
    },
    "delete_condition": "event = 'search'"
  },
  "status": "waiting",
  "delete_id": "64e5f541-xxxx-xxxx-xxxx-00524051861b"
}
You can periodically poll the job_url with the given ID to check the status of the deletion process. When the status is done your job deleted the data matching the SQL expression filter and all your Pipes and API Endpoints continue running with the remaining data in the Data Source.
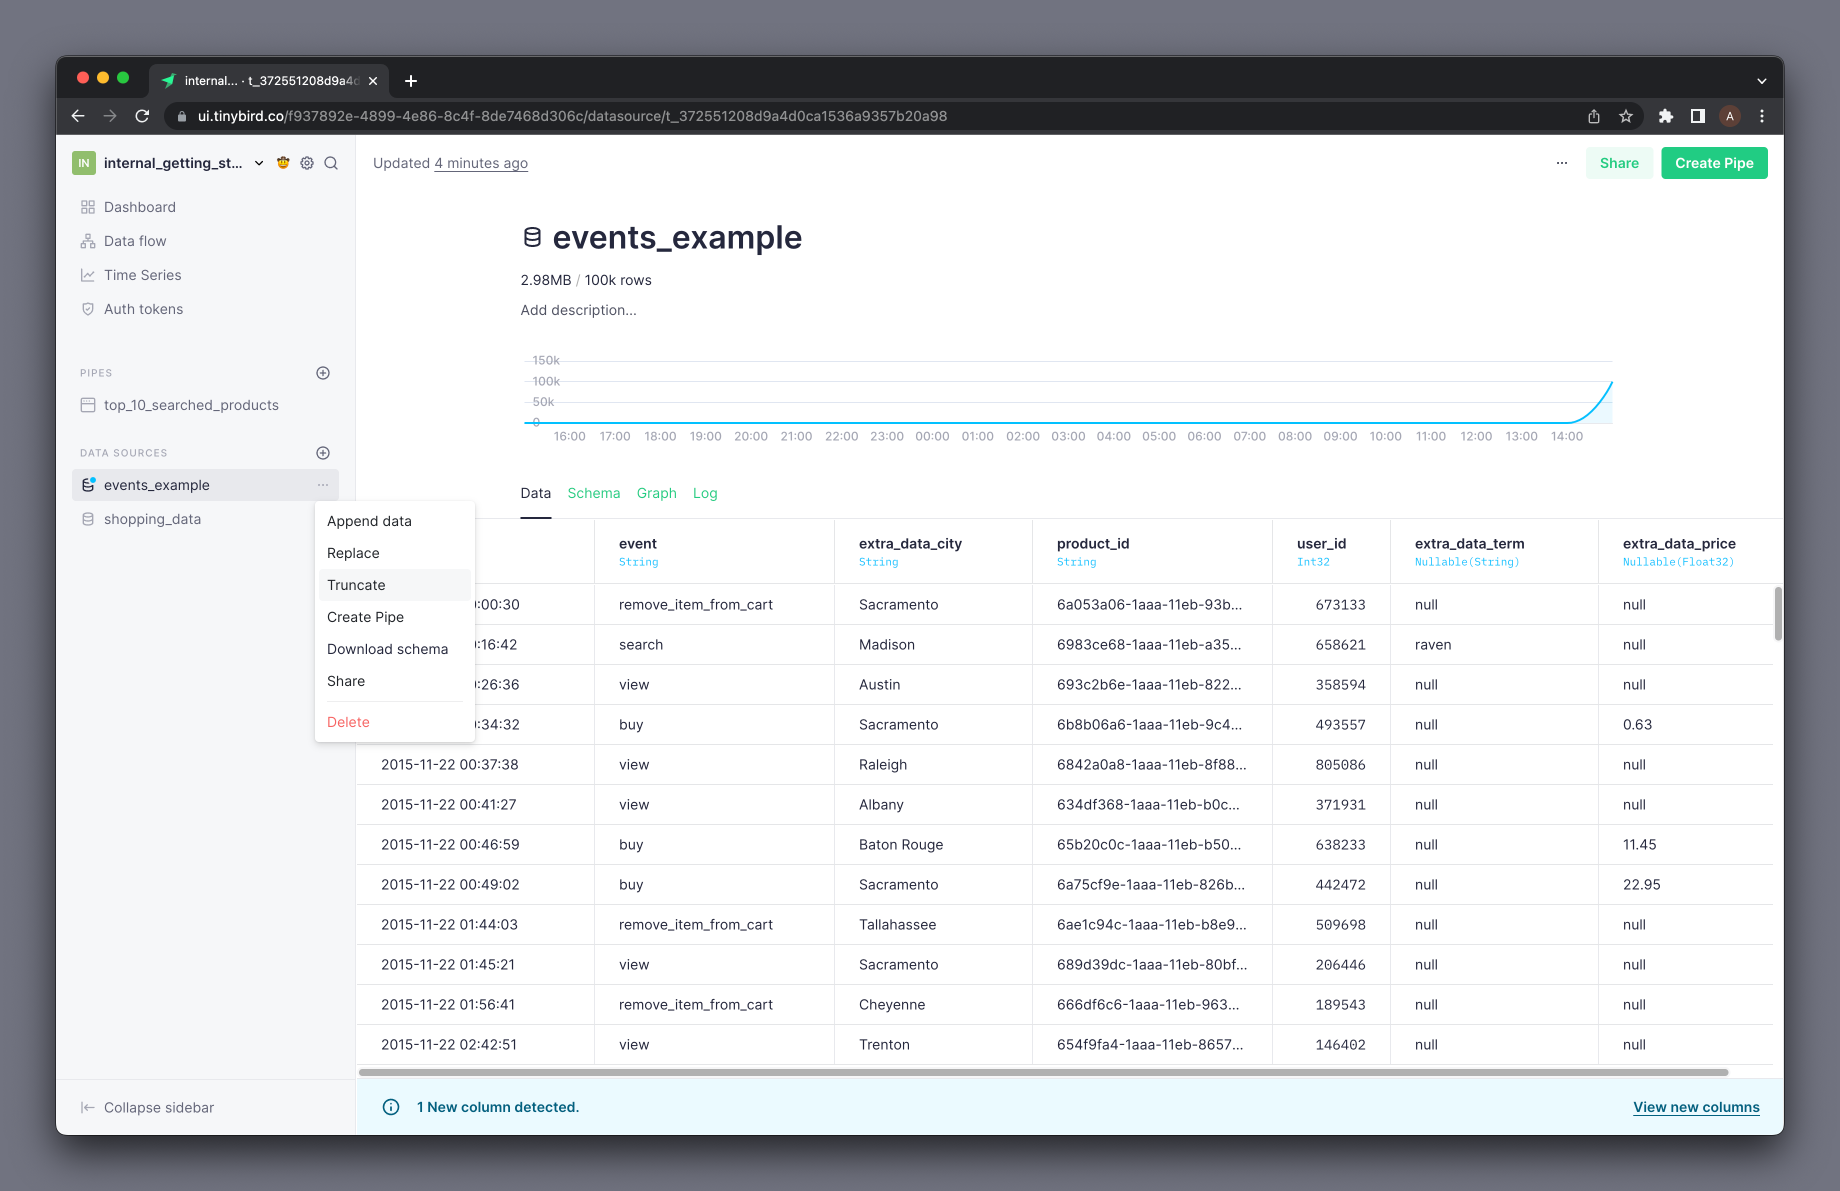
Truncate a Data Source
Sometimes you want to delete all data contained in a Data Source. You can perform this action from the UI and API.
Using the API, the truncate endpoint deletes all rows in a Data Source as shown in this example:
Truncate a Data Source
tb datasource truncate <your_datasource>
You can also truncate a Data Source directly from the UI:
Replace data selectively
The ability to update data is often not the top priority when designing analytical databases, but there are always scenarios where you need to update or replace your analytical data. For example, you might have reconciliation processes over your transactions that affect your original data. Or maybe your ingestion process was simply faulty, and you ingested inaccurate data for a period of time.
In Tinybird, you can specify a condition to replace only part of the data during the ingestion process. For instance, if you want to reingest a CSV with the data for November 2019 and update your Data Source accordingly. To update the data, you pass the replace_condition parameter with the toDate(date) >= '2019-11-01' and toDate(date) <= '2019-11-30' condition.
Replace data selectively
tb datasource replace events \
https://storage.googleapis.com/tinybird-assets/datasets/guides/events_1M_november2019_1.csv \
--sql-condition "toDate(date) >= '2019-11-01' and toDate(date) <= '2019-11-30'"
The response to the previous API call looks like this:
Response after replacing data
{
    "id": "a83fcb35-8d01-47b9-842c-a288d87679d0",
    "job_id": "a83fcb35-8d01-47b9-842c-a288d87679d0",
    "job_url": "https://api.tinybird.co/v0/jobs/a83fcb35-8d01-47b9-842c-a288d87679d0",
    "job": {
        "kind": "import",
        "id": "a83fcb35-8d01-47b9-842c-a288d87679d0",
        "job_id": "a83fcb35-8d01-47b9-842c-a288d87679d0",
        "import_id": "a83fcb35-8d01-47b9-842c-a288d87679d0",
        "status": "waiting",
        "statistics": null,
        "datasource": { ... },
        "quarantine_rows": 0,
        "invalid_lines": 0
    },
    "status": "waiting",
    "import_id": "a83fcb35-8d01-47b9-842c-a288d87679d0"
}
As in the case of the selective deletion, selective replacement also runs as an asynchronous request, so check the status of the job periodically. You can see the status of the job by using the job_url returned in the previous response.
About the replace condition
Conditional replaces apply over partitions and the match condition selects partitions needed for the operation. The records remaining after the match condition determine the partitions involved.
Always include the partition key in the replace condition to maintain consistency.
The replace condition filters the new data that's appended, meaning it excludes rows not matching the condition. The condition is also applied for the selected partitions in the Data Source, removing rows that don't match the condition in these partitions. Rows that don't match the condition and may be present in other partitions remain.
See the example that follows for a better understanding of selectively replacing data in a datasource.
Linked Materialized Views
If you have several connected Materialized Views, then selective replaces proceed in a cascading fashion. For example, if datasource A materializes data to datasource B and from there to datasource C, then when you replace data in datasource A, datasources B and C automatically update accordingly. All three Data Sources need to have compatible partition keys since replaces processed by partition.
The command tb dependencies --datasource the_data_source --check-for-partial-replace returns the dependencies for both for datasouces and materialized views and raises an error if any of the dependencies have incompatible partition keys.
Remember: The provided Token must have the DATASOURCES:CREATE scope.
Example
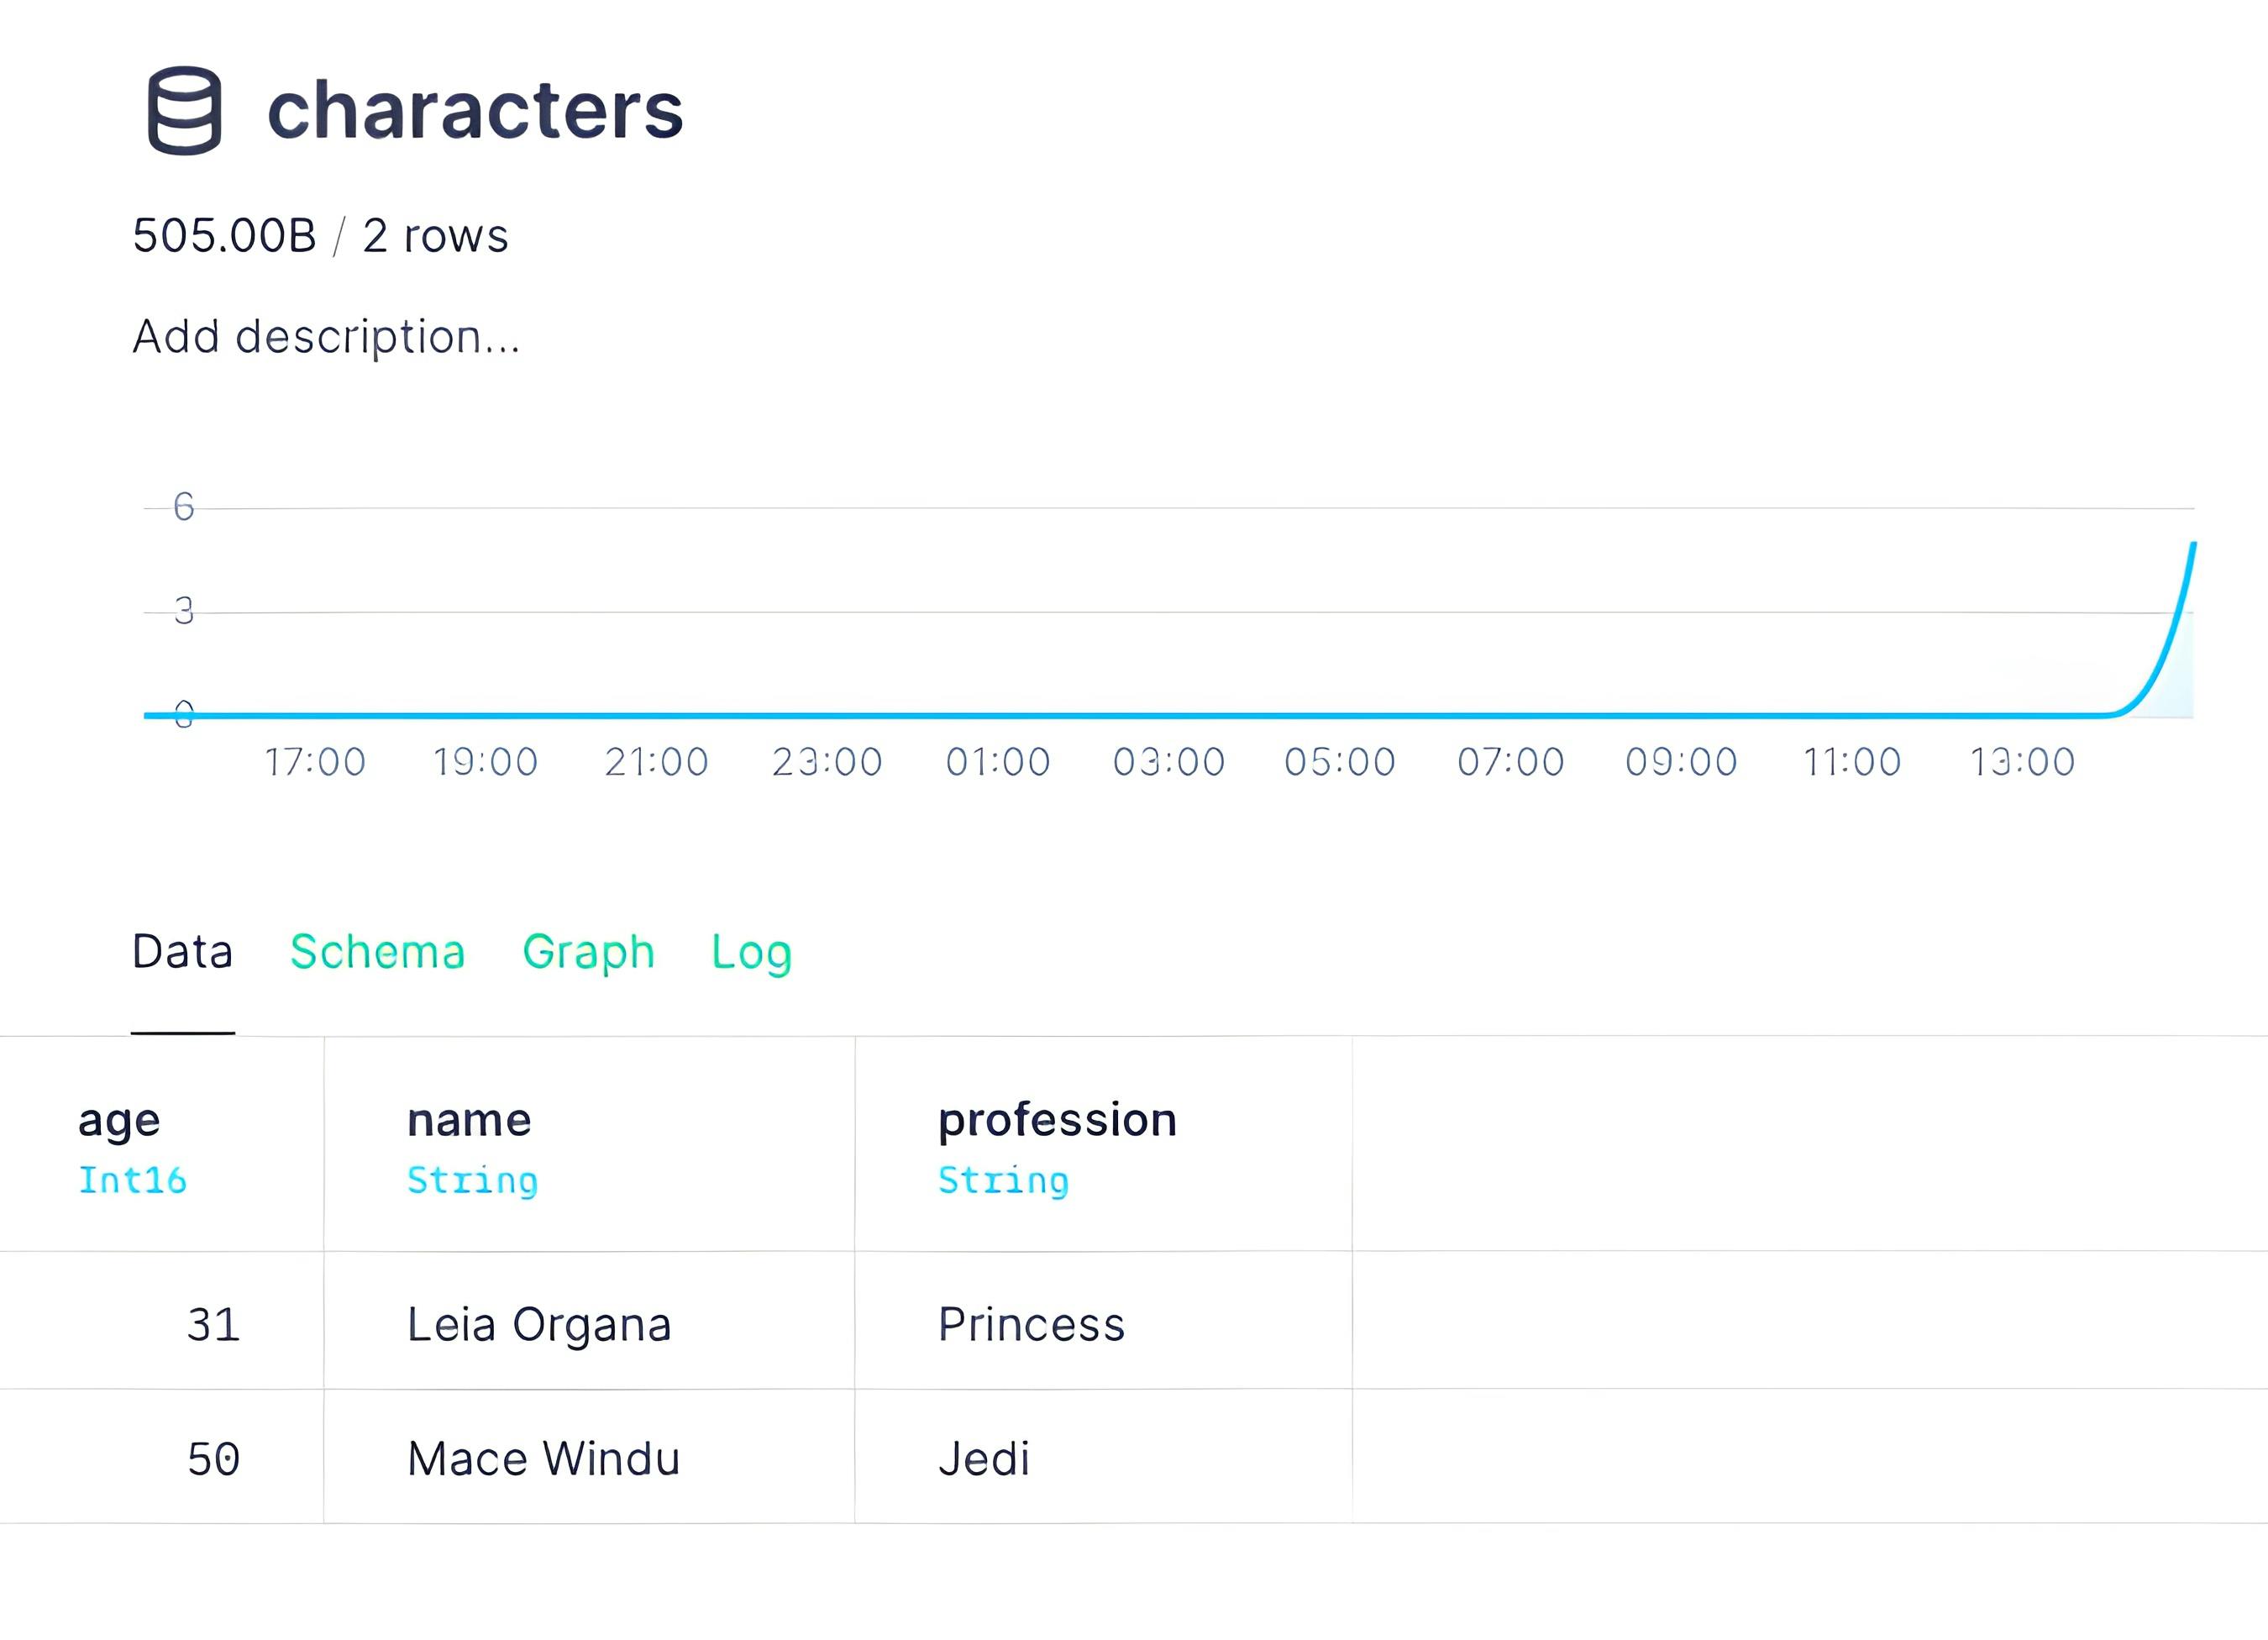
For this example, consider this Data Source:

Its partition key is ENGINE_PARTITION_KEY "profession". If you wanted to replace the last two rows with new data, you can send this request with the replace condition replace_condition=(profession='Jedi'):
Replace with partition in condition
echo "50,Mace Windu,Jedi" > jedi.csv
tb datasource replace characters jedi.csv --sql-condition "profession='Jedi'"
Since the replace condition column matches the partition key, the result is:
However, consider what happens if you create the Data Source with ENGINE_PARTITION_KEY "name":
characters.datasource
SCHEMA >
    `age` Int16,
    `name` String,
    `profession` String

ENGINE "MergeTree"
ENGINE_SORTING_KEY "age, name, profession"
ENGINE_PARTITION_KEY "name"
If you were to run the same replace request, the result probably doesn't make sense:

Why were the existed rows not removed? Because the replace process uses the payload rows to identify which partitions to work on. The Data Source is now partitioned by name and not profession, so the process didn't delete the other "Jedi" rows. They're in different partitions because they have different names.
The rule of thumb is this: Always make sure the replace condition uses the partition key as the filter field.
Replace a Data Source completely
To replace a complete Data Source, make an API call similar to the previous example, without providing a replace_condition:
Replace Data Source completely
tb datasource replace events https://storage.googleapis.com/tinybird-assets/datasets/guides/events_1M_november2019_1.csv
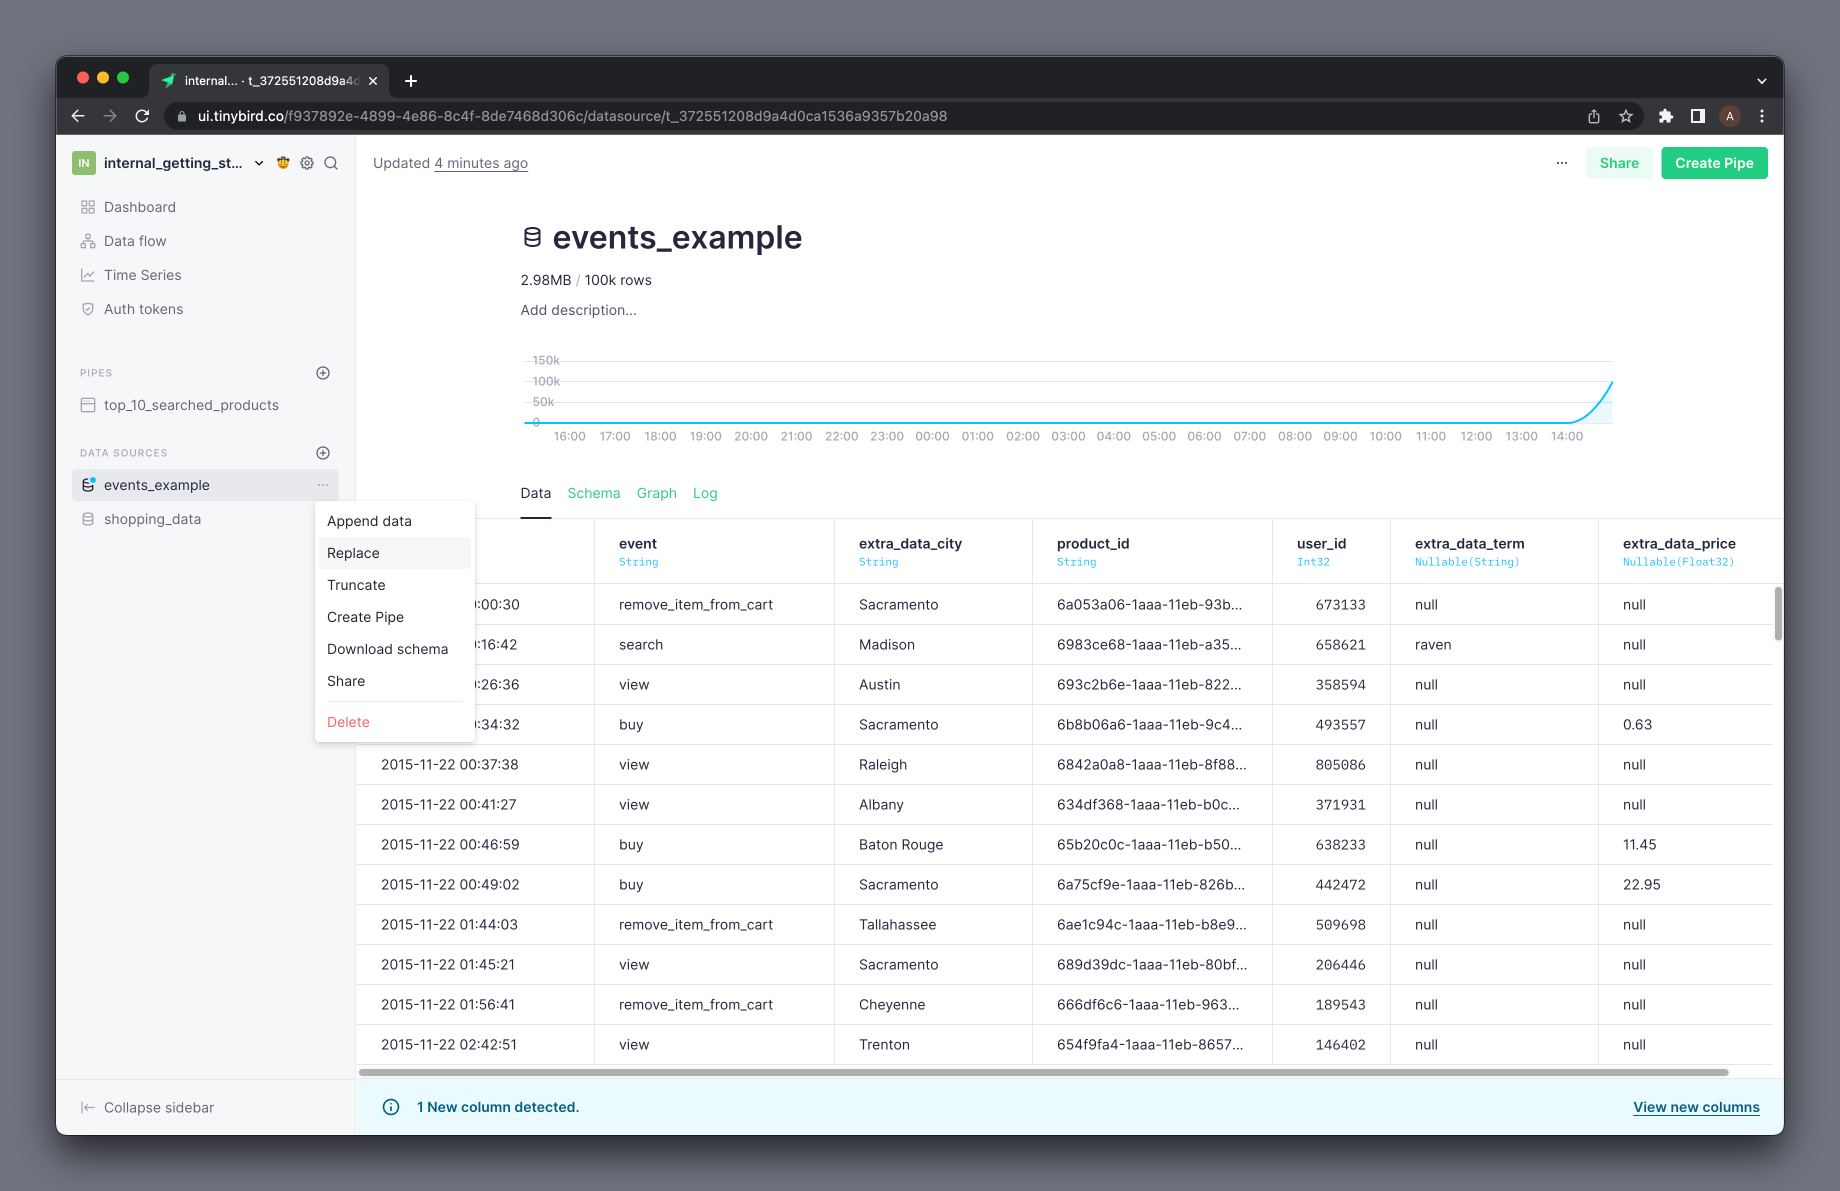
The example request is replacing a Data Source with the data found in a given URL pointing to a CSV file. You can also replace a Data Source in the Tinybird UI:
Schemas must be identical. When replacing data either selectively or entirely, the schema of the new inbound data must match that of the original Data Source. Rows not containing the same schema go to quarantine.
Next steps
- Learn how to get rows out of quarantine.
- Need to iterate a Data Source, including the schema? Read how here.