Integrating Vercel with Tinybird
This integration will allow you to link your Tinybird Workspaces with your Vercel projects to sync Tinybird Static Tokens into Vercel Environment Variables.
This integration makes it easy to use Tinybird as a purpose-built analytics backend from within the Vercel Marketplace. Build any kind of analytics, be it web analytics, structured logging, telemetry, anomaly detection, personalization or anything else you can think of - and never have to worry about infrastructure, scale or security.
Add the Tinybird integration
There's basically two stages to this process - adding Tinybird to your Vercel account to set the overall scope of the integration, and then connecting specific Vercel Projects to Tinybird Workspaces.
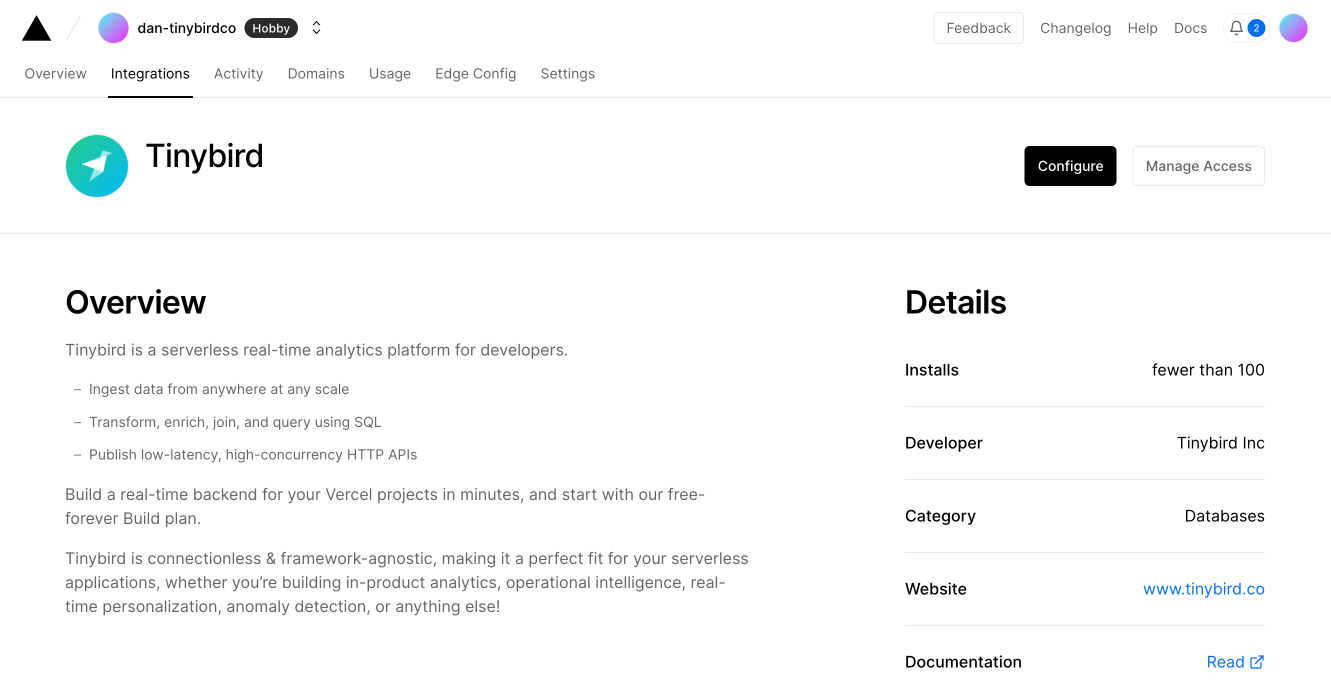
To get started, you can either search for Tinybird in the Vercel integration marketplace, which looks like this:

Or you can just use this link to go straight to creating a new Tinybird integration.
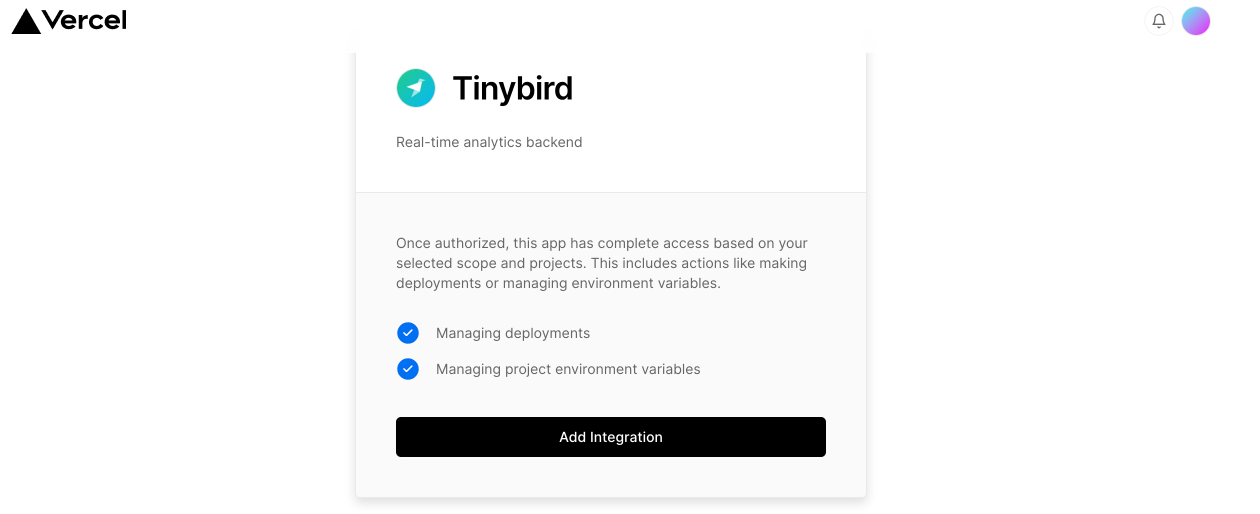
Either way, click Add integration to get started and then select your target Vercel account.
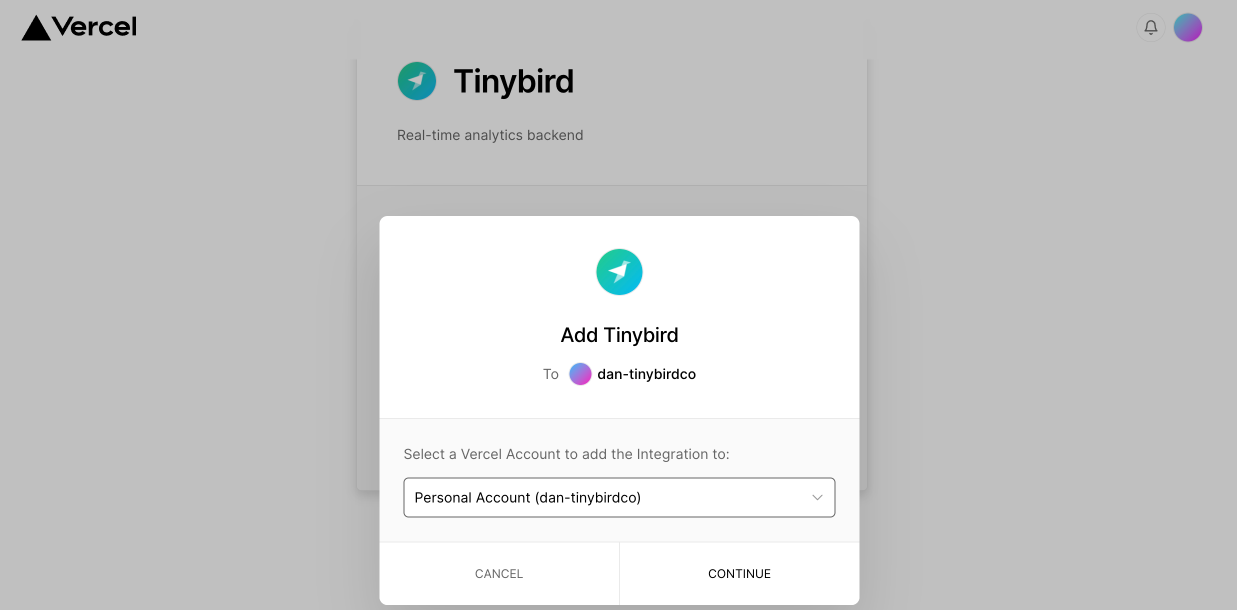
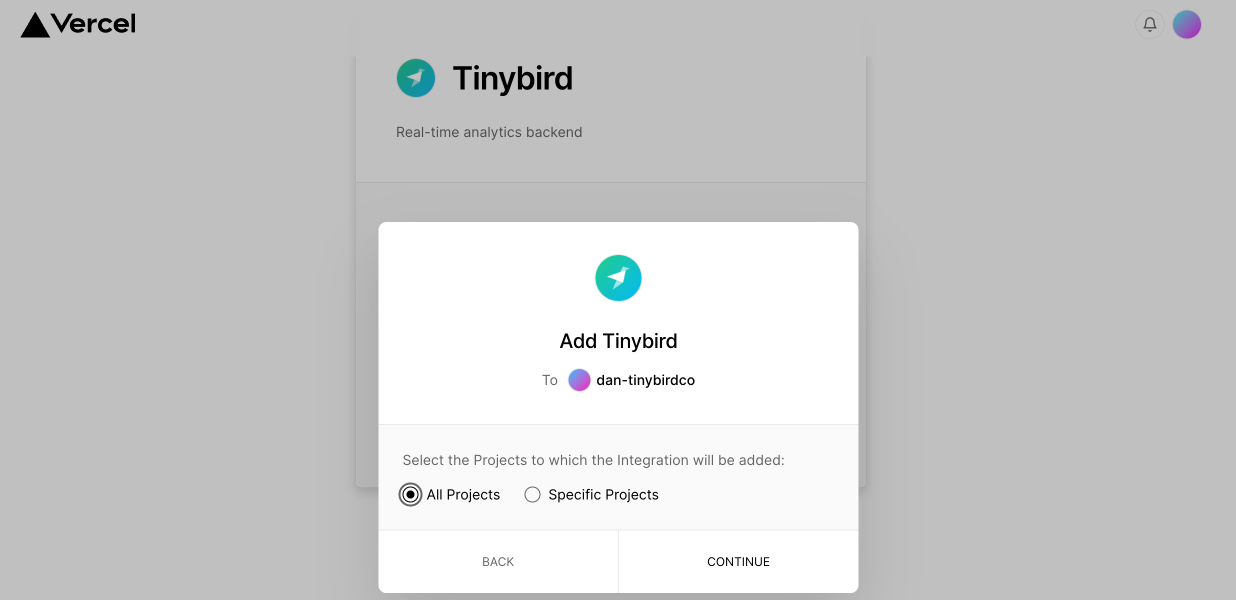
Next, select the scope of which Projects the Tinybird integration will be added to - this controls which Projects will be presented as options to connect to a Tinybird Workspace.
We're selecting All Projects here, but you can limit it to a specific one if you want.
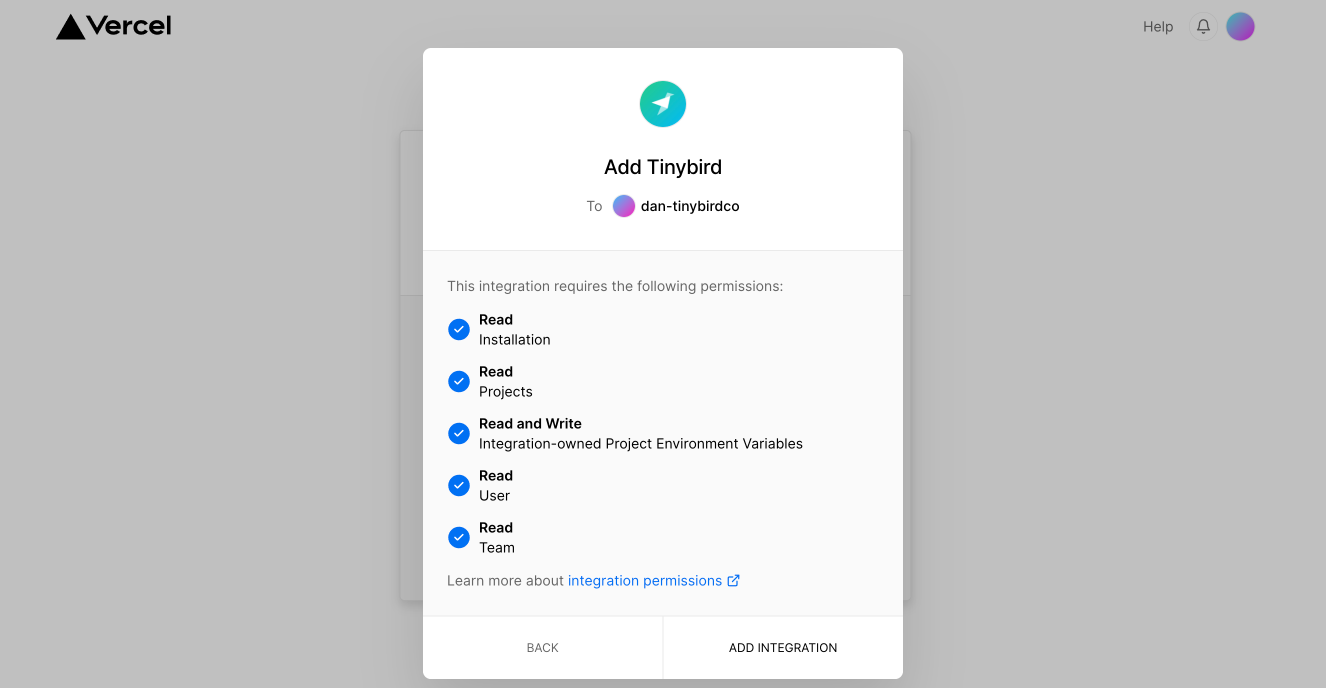
Finally in this section, review and approve the required permissions to allow this integration to function.
We need to be able to read Project and Account information, and manage the environment variables in the projects in order to provide Tokens and URLS for connectivity.
Great! The integration workflow will launch straight into connecting a Project to a Workspace, but you can come back to it later if you want via the Integrations dashboard in your Vercel Account
Integrate a Vercel project
You can set up a new Workspace integration from the Vercel Account integrations control panel by selecting the Tinybird integration, and then the Configure button. Note that you'll already be in this workflow the first time you add the integration to the account.
Once in this control panel, you'll be able to review any integrations present, for now let's add our first one.

First in this workflow, select which Tinybird region you want to connect to

Next, select at least one Vercel Project to include - they'll all get the Environment variables added

Now we'll need a Tinybird Workspace to integrate with - you can either pick one you already have, or we can create a shiny new one by popping out into the Tinybird UI.

Now to select which Static Tokens you want to have sync'd into the Vercel Projects as Environment Variables.
If you don't see the Token you want in the list, you can pop out into the Tinybird UI and create one with the scope you want. If this is your first time, you can just use the default admin Token to get started with and reduce the scope later.

And that's it! Now your Project(s) will have these Tokens available ready to use.
Note that the Environment variables follow a convenient naming format TB_<WORKSPACE_NAME>_<TOKEN_NAME>
In your Tinybird UI, at the bottom of the main dropdown menu, you'll see a new option for Integrations - You can review your various integrations here.
If you want to update and Integration, rerun the workflow by clicking the Add project button.

And if you head to your Tokens page within the Tinybird UI, you'll see a handy notification if that Token is being actively synchronized.

Removing the integration
It's cool, we can just be friends.
To remove Tinybird from your Vercel Account, go to the Integrations management page. At the bottom you'll see the Remove integration button.

This will remove the Integration and environment variables, but note that your Tinybird Workspaces and Tokens will not be removed.
BYO Web Analytics
Well now you might be thinking, what can I do with this shiny new integration?
You're probably familiar with the built-in Vercel analytics - we've made a starter kit to get you going on expanding into your own custom analysis of your site traffic.
Give a go here!