


Building analytics for IoT devices requires both streaming capabilities and a developer-friendly analytics backend. Traditional solutions offer one or the other, usually making it hard to work with streams the way you'd work with a database. However, in this example, I'll show you how you can combine an Apache Kafka-compatible streaming service with Tinybird, a real-time analytics backend, to build real-time data APIs that you can integrate into your app.
Why Kafka and Tinybird?
Kafka is the world's most popular data streaming infrastructure; it excels at handling high-throughput event streaming from thousands of IoT devices, providing reliable message delivery with persistence. Tinybird complements this by transforming IoT data streams into real-time APIs with sub-second response times. Together, they form an end-to-end solution:
- Kafka handles the ingestion and buffering of IoT sensor meter readings
- Tinybird processes the data stream, stores the history using ClickHouse® queries, and exposes the results as API endpoints
- Your application or service can present insights through standard REST API calls
What makes this combination powerful for product engineers is the ability to work with streaming data, persist it in the Tinybird database, and create APIs to consume it involving just two pieces of software. Depending on your approach to Kafka, you can do this in an entirely serverless fashion, without worrying about any complex infrastructure setup.
The water meters challenge
Water utility companies use smart meters to keep track of and maintain their processing and distribution infrastructure. They must handle thousands of real-time readings to detect leaks, monitor and predict consumption, and alert customers. There's an internal analytics angle to this; they need dashboards + alerts for maintenance crews and managers. Increasingly, though, utility companies are adding customer-facing features: outage alerts, real-time consumption monitoring, etc. A traditional real-time analytics stack requires juggling multiple tools and environments, which not only slows down feature delivery but also results in slow, brittle data pipelines. For visualization, you might consider connecting Grafana to ClickHouse® for your operational dashboards.
The Kafka + Tinybird stack achieves real-time insights published via high-availability APIs with minimal infrastructure maintenance and zero externally managed technical handoffs (as you'll see below).
In this post, I'll share how to build a real-time analytics pipeline that consumes IoT water meter data from a Kafka topic and exposes relevant customer-facing information through scalable API endpoints. If you follow along, you'll learn how to create a system that can:
- Consume and store the events from Kafka regardless of throughput
- Build real-time analytics endpoints to fetch the latest readings and today's average from a specific meter
- Deploy the entire pipeline, from local development environment to production in a scalable cloud
In the next post, I'll set up a proper code repository with CI/CD, and show you how to evolve the data project and APIs to handle changing requirements. Specifically, I'll add some extra metadata from S3 and build more API endpoints. Thanks to CI/CD, I'll be sure we don't break production. But that's for later. Let's focus on the first build:
The measurements and the expected results
Each water meter sends messages containing flow rate and temperature readings:
{
  "meter_id": 887876,
  "timestamp": "2025-05-13 09:45:43",
  "flow_rate": 6.665,
  "temperature": 17.08
}
I want to build an API with an expected call and response like this:
GET /api/v0/water_metrics/latest?meter_id=887876&measurement=flow_rate
{
  "meter_id": 887876,
  "measurement": "flow_rate",
  "latest_value": 6.665,
  "today_avg": 7.32
}
Getting Tinybird Local ready
One major benefit of using Tinybird here is its Docker container, Tinybird Local. You can run Tinybird's analytics backend locally to validate the build without cloud/external dependencies, then deploy to a cloud production environment once you've tested things end to end.
To start Tinybird Local:
curl https://tinybird.co | sh && tb local start
Follow the quickstart if you're not familiar with Tinybird CLI.
Setting Up the Kafka connection and the data source
To connect Kafka to Tinybird, you need a connection to a Kafka cluster and data source that will read from the topic and store the messages. Tinybird has a Kafka connector that simplifies this. For more details on the underlying ClickHouse® Kafka engine and alternative integration approaches, see our Kafka to ClickHouse® examples guide.
tb datasource create --kafka
The tb datasource create command prompts a wizard that guides you through the process, but we're here for the detailed explanation. To capture data from a Kafka topic, you need a connection to the Kafka cluster (.connection) and a place (.datasource in Tinybird) to consume the messages from a specific topic and write them into a database table:
You define the connection details (bootstrap server and port, api key, secret) in the generated .connection file.
TYPE kafka
KAFKA_BOOTSTRAP_SERVERS {{ tb_secret("KAFKA_SERVERS", "localhost:9092") }}
KAFKA_SECURITY_PROTOCOL SASL_SSL
KAFKA_SASL_MECHANISM PLAIN
KAFKA_KEY {{ tb_secret("KAFKA_KEY", "key") }}
KAFKA_SECRET {{ tb_secret("KAFKA_SECRET", "secret") }}
You can use the tb secret function to get the credentials from the environment variables, which allows you to point your Kafka connection at a different Kafka server in your local and prod environments.
On Tinybird Local, secrets will automatically get set to the default provided in the connection file, but if you need to change them:
tb secret set KAFKA_SERVERS <broker:port>
tb secret set KAFKA_KEY <key>
tb secret set KAFKA_SECRET <secret>
Remember that secrets are applied by default to the workspace in Tinybird Local. For production, you need to use the --cloud flag. But we're developing for now, so local is fine.
The default .datasource schema generated will ingest the whole message payload from Kafka into a single column.
SCHEMA >
    `data` String `json:$`

KAFKA_CONNECTION_NAME my_kafka_conn
KAFKA_TOPIC water_metrics_demo
KAFKA_GROUP_ID {{ tb_secret("KAFKA_GROUP_ID", "water_meters_group") }}
You can keep this pattern and use materialized views with JSONExtract functions to parse the JSON object into another data source on ingestion, or go ahead and breakout the payload into columns in the landing data source.
To do the latter, you can define column names, data types, and JSONPaths so that each field gets stored in its own column.
SCHEMA >
    `meter_id` Int32 `json:$.meter_id`,
    `timestamp` DateTime `json:$.timestamp`,
    `flow_rate` Float32 `json:$.flow_rate`,
    `temperature` Float32 `json:$.temperature`

KAFKA_CONNECTION_NAME my_kafka_conn
KAFKA_TOPIC water_metrics_demo
KAFKA_GROUP_ID {{ tb_secret("KAFKA_GROUP_ID", "water_meters_group") }}
KAFKA_AUTO_OFFSET_RESET earliest
Check out that last setting in the schema. If you want to ingest the data that is already in the topic, you set the KAFKA_AUTO_OFFSET_RESET setting to earliest. Otherwise, the data source will only store messages consumed after the data source is deployed (which may be desirable depending on your use case).
Note also that KAFKA_GROUP_ID is added as a secret. When prototyping, you often tend to destroy/recreate the data source, which requires a new consumer ID (more info here) to avoid clashes in the consumer offsets. You can use secrets and append $(date +%s) to have a different consumer group ID each time you deploy.
tb secret set KAFKA_GROUP_ID consumer-group-id-local-$(date +%s)
You can verify that project is ready to deploy with tb deploy --check.
tb deploy --check
If the check passes, you can deploy the project to Tinybird Local:
tb deploy
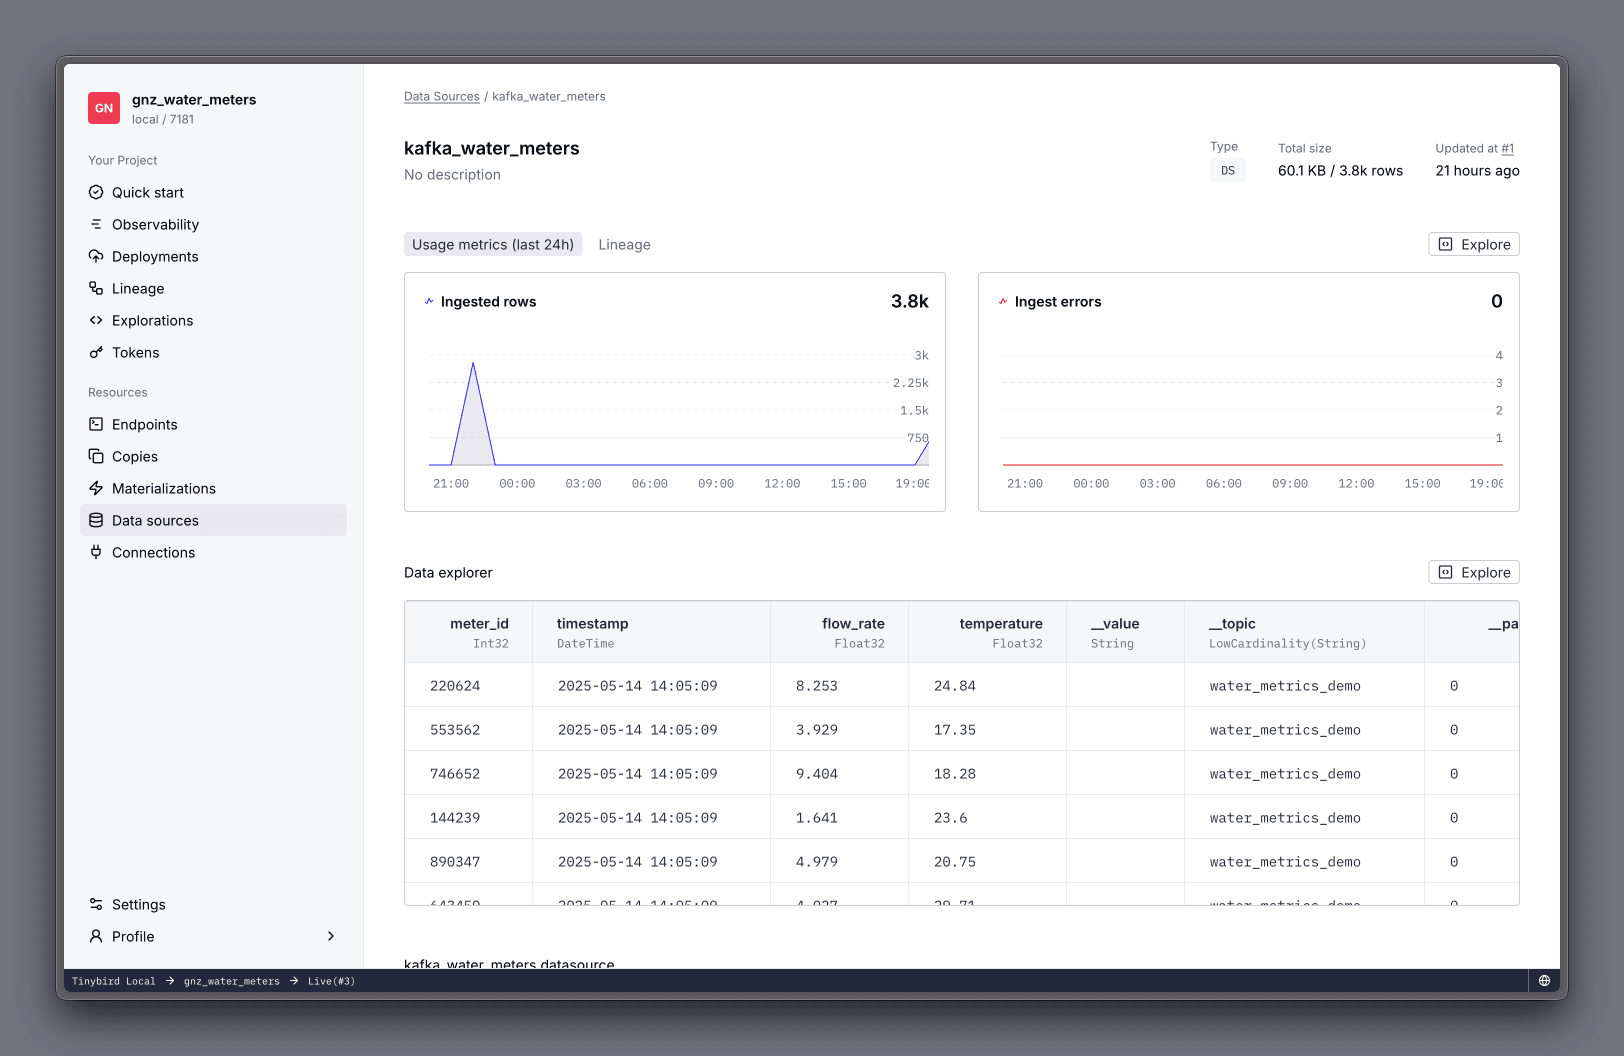
You can use tb open to open a browser and see in Tinybird's UI the connection and the data source, which should already have some data flowing in from the Kafka topic.
Creating the measurements API endpoint
Tinybird's tb create command will help you generate any resource. Let's use it to build an API config from a natural language prompt:
tb create --prompt "an endpoint that accepts sensor id and measurement as params, and returns latest value and today's average of the selected measurement"
This should create something valid, but just in case the LLM gets a bit too creative, here's a valid version of meter_measurements.pipe that I tested:
DESCRIPTION >
    Returns the latest value and today's average for a specified sensor and measurement

NODE measurements_node
SQL >
    %
    {\% if measurement != 'temperature' and measurement != 'flow_rate' %}
        {{ error('measurement query param must be either temperature or flow_rate') }}
    {\% end %}
    SELECT
        meter_id,
        {{String(measurement)}} as measurement,
        {\% if String(measurement) == 'temperature' %}
            argMax(temperature, timestamp) as latest_value,
            round(avg(temperature), 2) as today_avg
        {\% else %}
            argMax(flow_rate, timestamp) as latest_value,
            round(avg(flow_rate), 2) as today_avg
        {\% end %}
    FROM kafka_water_meters
    WHERE meter_id = {{Int32(sensor_id)}}
      AND toDate(timestamp) = today()
    GROUP BY meter_id

TYPE endpoint
Notice a few things:
- The use of templating functions to define logic (API response errors, if/else, etc.)
- The definition of query parameters
Deploy and test the endpoint locally
To add new resources to your Tinybird Local workspace, you just create a new deployment with tb deploy.
To fetch the API, we need to supply a valid sensor id, so lets get one from the table:
tb sql "select meter_id from kafka_water_meters limit 1"
-- 601546
Now we can test the endpoint. The default Tinybird localhost port is 7181, and I recommend storing the admin token in the TB_LOCAL_TOKEN environment variable:
tb token copy "admin local_testing@tinybird.co" && TB_LOCAL_TOKEN=$(pbpaste)
Calling the endpoint with the sensor id we got from the query...
curl -X GET "http://localhost:7181/v0/pipes/meter_measurements.json" \
   -H "Authorization: Bearer $TB_LOCAL_TOKEN" \
   -H "Content-Type: application/json" \
   -d '{"sensor_id": 601546, "measurement": "temperature"}'
...we get:
(...)
"data":
  [
    {
      "meter_id": 601546,
      "measurement": "temperature",
      "latest_value": 22.35,
      "today_avg": 22.35
    }
  ],
(...)
And if we don't pass a valid measurement...
curl -X GET "http://localhost:7181/v0/pipes/meter_measurements.json" \
   -H "Authorization: Bearer $TB_LOCAL_TOKEN" \
   -H "Content-Type: application/json" \
   -d '{"sensor_id": 601546, "measurement": "whatever"}'
...it will return an error:
{"error": "measurement query param must be either temperature or flow_rate", "documentation": "https://docs.tinybird.co/query/query-parameters.html"}%
A brief note on security/tokens: Here I am testing, so I used a static admin token, but for production, I recommend using a signed JWT, which can easily be generated with auth services like Clerk or Auth0.
YOLO mode
At this point I have a working local project, so I can just deploy it to cloud (remember to set the secrets!) and start monitoring the sensors.
tb --cloud secret set KAFKA_SERVERS <broker:port>
tb --cloud secret set KAFKA_KEY <key>
tb --cloud secret set KAFKA_SECRET <secret>
tb --cloud secret set KAFKA_GROUP_ID consumer-group-id-prod

tb --cloud deploy
I call this "YOLO mode" using tb --cloud deploy directly from the CLI, but for real projects in production that you will need to iterate over time, I recommend committing everything to git (the benefit of all resources being defined as code!) instead of deploying directly, so the repo is a source of truth. Then you can use proper CI/CD pipelines to handle building, testing, and then deploying. Basically, just following software engineering best practices is a nice thing to do, so let's not rush to prod. First, let's create some tests!
Proper tests
Manual checks are fine while developing, but you want to add automated tests to your CI/CD to ensure you will not break your project on future iterations.
tb test generates API tests and tb test run runs them. Tinybird believes that tests should not wait, so tests will be generated on the existing endpoints against the test data in the /fixtures folder. This means tb test does not need a connection to the Kafka topic, and hence is suitable to be run in isolation as part of the CI/CD process. To make sure you have good tests, generate some data for testing:
Generating synthetic data for tests
I want to keep it simple, so just 4 rows and one sensor id.
tb mock kafka_water_meters --prompt "examples with meter_id = 1 and temperature between 1 and 30 deg " --rows 4
This command generates a .sql file that runs against the database in Tinybird Local to generate and .ndjson with the mock data:
SELECT
    1 AS meter_id,
    now() - rand() % 86400 AS timestamp,
    rand() % 100 / 10 AS flow_rate,
    1 + rand() % 29 AS temperature
FROM numbers(4)
{"meter_id": 1, "timestamp": "2025-05-15 13:36:52", "flow_rate": 7.2, "temperature": 14}
{"meter_id": 1, "timestamp": "2025-05-15 21:05:50", "flow_rate": 3.4, "temperature": 11}
{"meter_id": 1, "timestamp": "2025-05-16 01:31:33", "flow_rate": 9.1, "temperature": 2}
{"meter_id": 1, "timestamp": "2025-05-16 02:00:43", "flow_rate": 4.1, "temperature": 19}
Creating the tests
To create a test, you just run tb test create pipe_name, and you get a YAML with some valid tests for your API. You can also optionally --prompt your tests to give more guidance on what gets generated.
tb test create meter_measurements
- name: temperature_sensor_1
  description: Test temperature measurement for sensor ID 1
  parameters: measurement=temperature&sensor_id=1
  expected_result: |
    {"meter_id":1,"measurement":"temperature","latest_value":19,"today_avg":10.5}

- name: flow_rate_sensor_2
  description: Test flow rate measurement for sensor ID 2
  parameters: measurement=flow_rate&sensor_id=2
  expected_result: ''

- name: invalid_measurement
  description: Test error handling with invalid measurement parameter
  parameters: measurement=pressure&sensor_id=1
  expected_result: measurement query param must be either temperature or flow_rate
  expected_http_status: 400
I won't edit them here, but you can of course adjust yours manually, and update their expected result with tb test update.
To run the tests:
tb test run
» Building project
✓ Done!

» Running tests
* meter_measurements.yaml
✓ temperature_sensor_1 passed
✓ flow_rate_sensor_2 passed
✓ invalid_measurement passed

✓ 1/1 passed
All passed, so that's a great place to leave it here for the next post, where we'll setup CI/CD, GitHub Actions secrets to pass the Kafka credentials to the workspace in Tinybird Cloud, and evolve the project adding more sources of data and more functionality.
Conclusion
I've shown you how to build a system that processes IoT data streams and exposes them through real-time APIs. The architecture is simple:
- Kafka handles the data streaming
- Tinybird turns the streams into queryable API endpoints
- Everything is testable and version controlled, from local to production
The main benefit? No need to juggle multiple tools or maintain complex processing pipelines. Just stream your data and query it.
In the next post, I'll add CI/CD pipelines and evolve the project with more data sources. Meanwhile, if you want to start building something with Tinybird, you can sign up for free here.