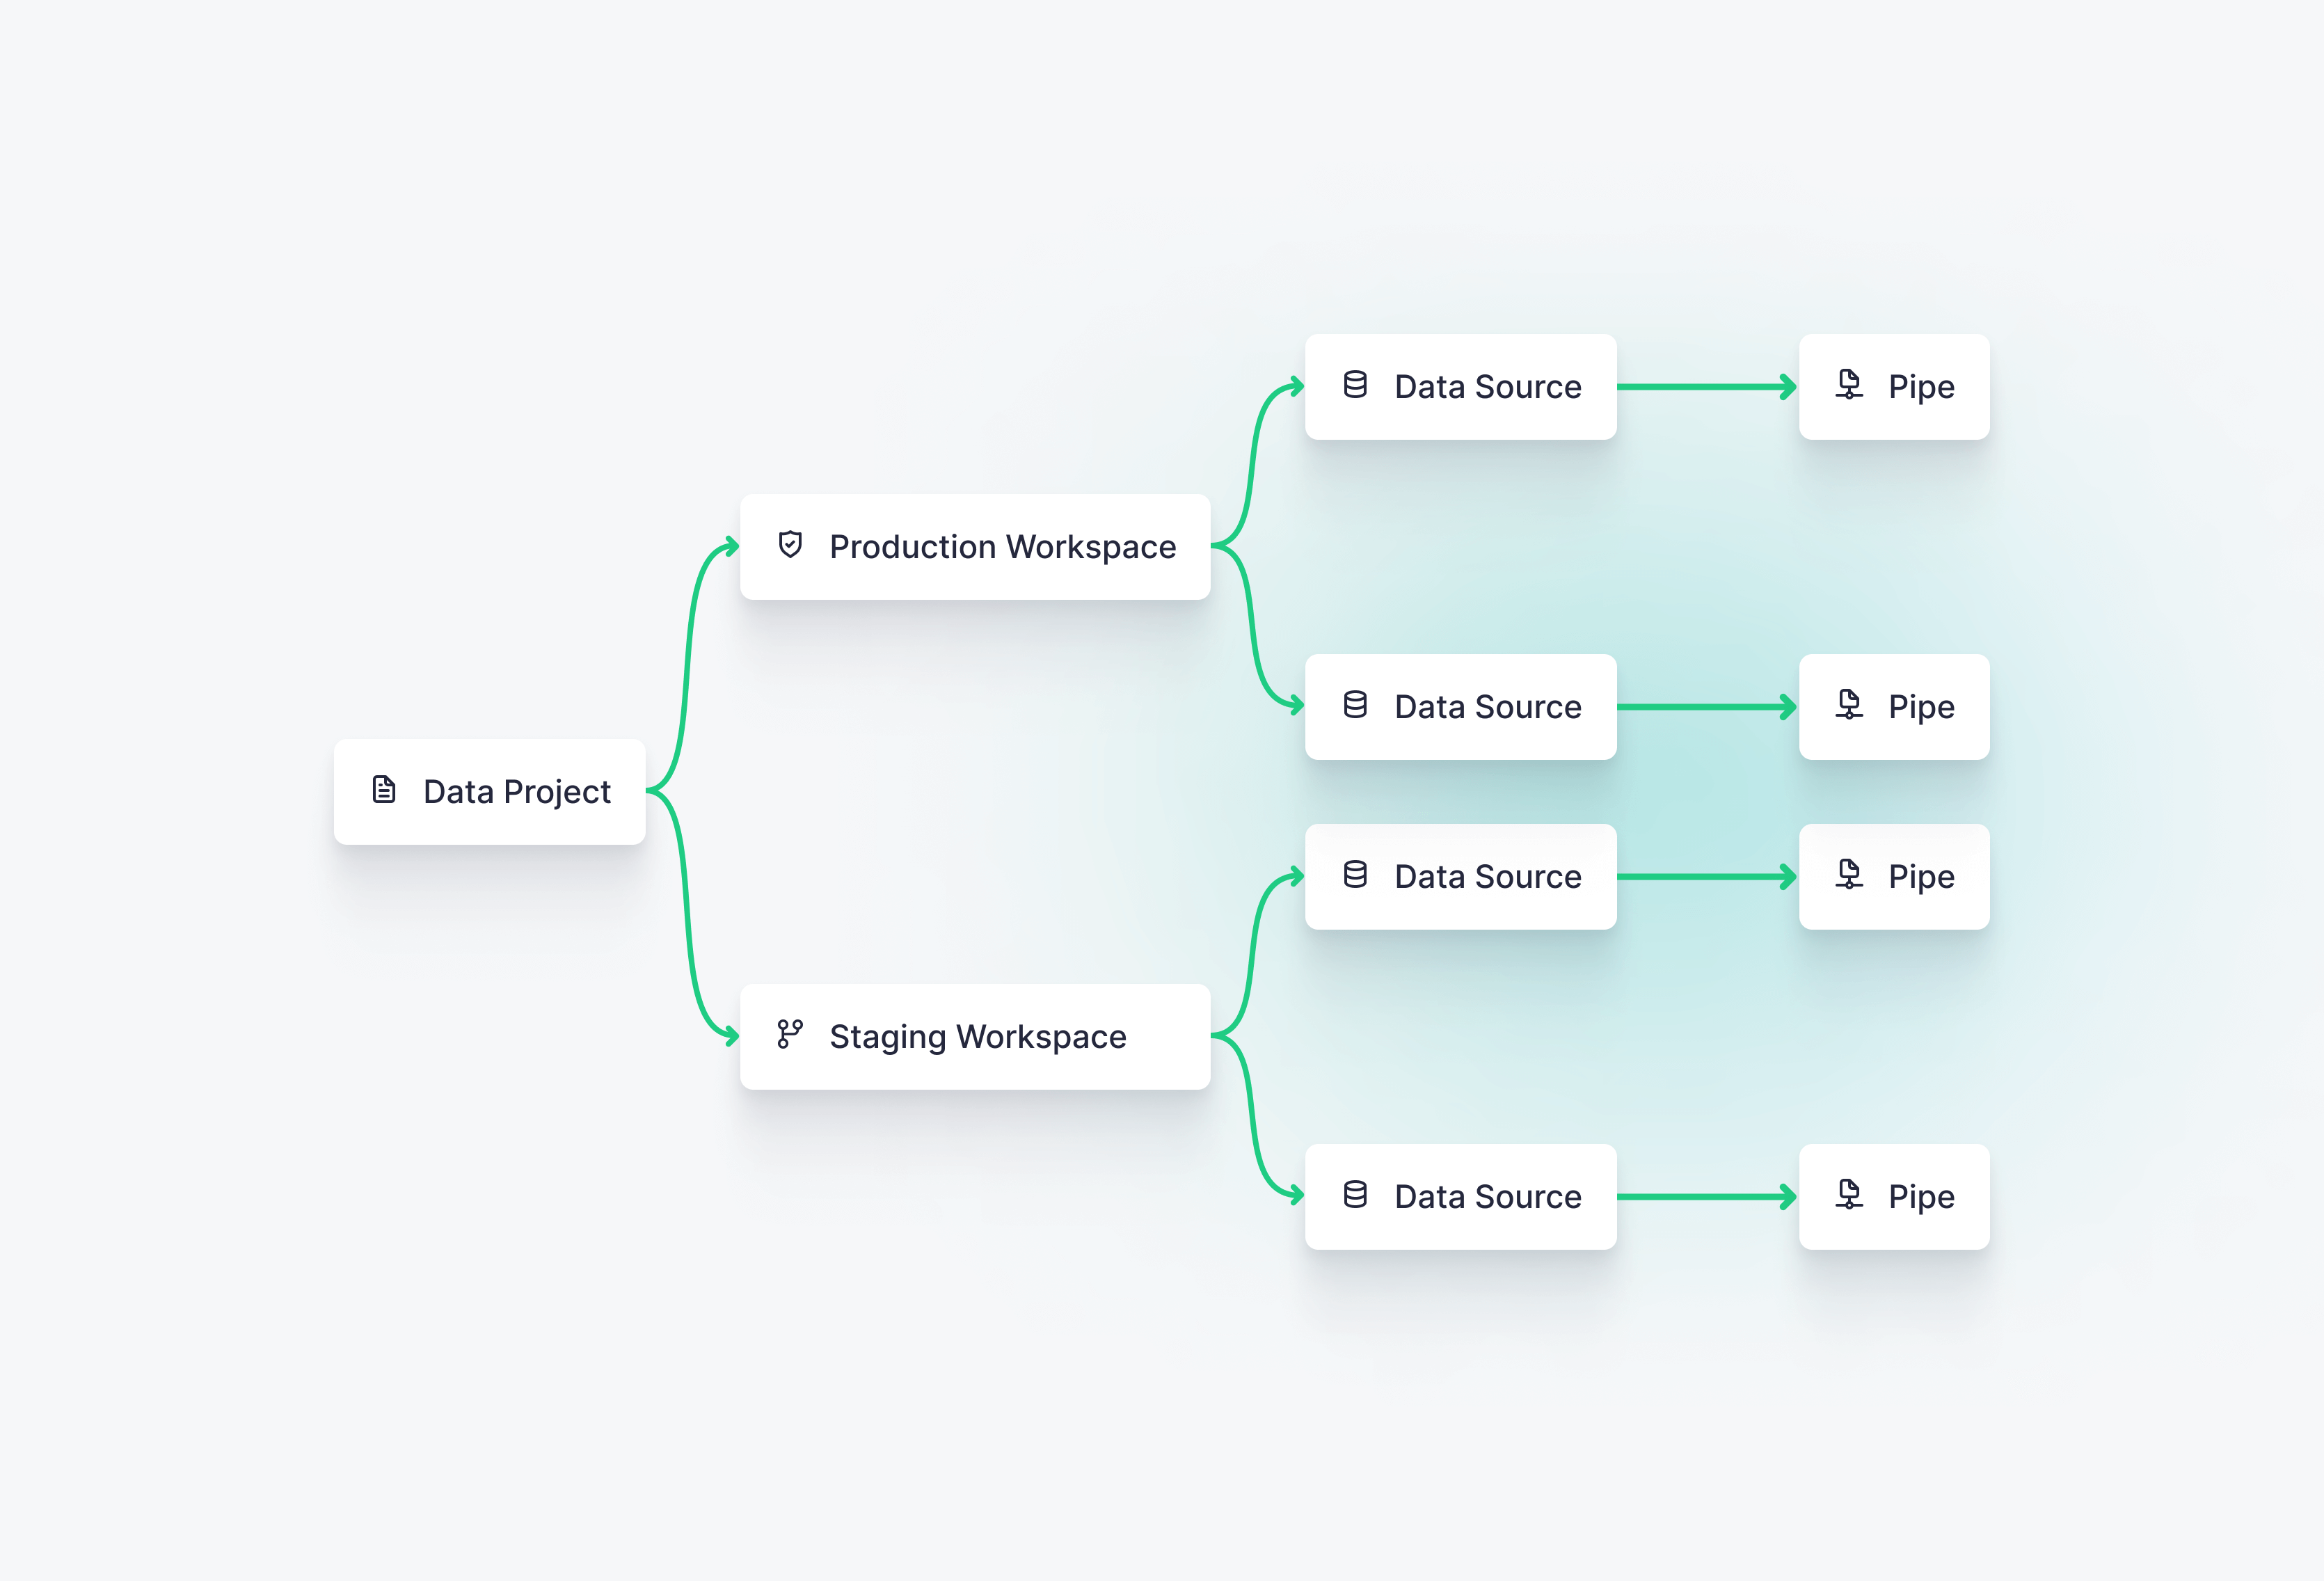
Staging and production Workspaces
Tinybird projects can be deployed to multiple Workspaces that contain different data. You can use this to create production and staging environments for your project.
Keep your Workspaces clear and distinct. While you can deploy a project to multiple Workspaces, you should avoid deploying multiple projects to the same Workspace.
This page covers how to set up a CI/CD workflow with staging and production Workspaces. This setup includes:
- A staging Workspace with staging data, used to validate change to your project before deploying to production.
- A production Workspace with production data, used to serve your data to real users.
- A CI/CD workflow that will run CI over the staging Workspace, deploy manually to the staging Workspace, and finally automatically promote to the production Workspace upon merge.

Example project setup
You can follow along using the ecommerce_data_project.
Download the project by running:
Git clone the project
git clone https://github.com/tinybirdco/ecommerce_data_project
cd ecommerce_data_project"}
Then, create the staging and production Workspaces and authenticate using your Workspace admin Token.
Create Workspaces
tb workspace create staging_acme --user_token <token>
tb workspace create pro_acme --user_token <token>
Push the project to the production Workspace:
Recreating the project
tb workspace use pro_acme
tb push --push-deps --fixtures
Finally, push the project to the staging Workspace:
Recreating the project
tb workspace use staging_acme
tb push --push-deps --fixtures
Once you have the project deployed to both Workspaces make sure you connect them to Git and push the CI/CD pipelines to the Git repository.
Configuring CI/CD
The following CI/CD jobs are based on the examples in the Continuous Integration section.
A common pattern is to run CD in the staging Workspace before moving to production.
Below is an example of a GitHub Actions workflow that will perform CD staging Workspace.
Staging CD pipeline
name: Tinybird - Staging CD Workflow

on:
  workflow_dispatch:
jobs:
  staging_cd:  # deploy changes to staging Workspace
    uses: tinybirdco/ci/.github/workflows/cd.yml@main
    with:
      data_project_dir: .
    secrets:
      tb_admin_token: ${{ secrets.TB_ADMIN_TOKEN }}  # set the Workspace admin Token from the staging Workspace in a new secret
      tb_host: https://app.tinybird.co
Staging Workspace vs Branch
Branches are intended to be ephemeral or short-lived. They are useful for testing changes while you are developing them.
Typically, when you begin to develop a new feature, you'll begin by creating a new Branch. Your development work takes place on the Branch, and you can test your changes as you go.
On the other hand Workspaces are intended to be permanent or long-lived. You'll use a Workspace to deploy your project into production, as testing environments or to experiment with new projects.
Staging Workspaces are optional, and different teams might use them differently, for example:
- You don't want to test with your production data, so you have a separate well known subset of data in staging.
- You want to perform integration testing with the development version of your project before moving it to the production Workspace.
- You want to test out a complex deployment or data migration before deploying to the production Workspace.
Migrating from prefixes
Before Workspaces were introduced in Tinybird, the CLI provided a --prefix flag that allowed you to create staging, production, or development resources in the same Workspace. This flag is now deprecated and you should migrate to a multiple Workspace model.
Migrating to a multiple Workspace model is better because:
- You can create multiple isolated Workspaces for testing, staging or production, depending of your needs.
- Multiple Workspaces provide better out-of-the-box security, by limiting access to production Workspaces and/or sensitive data.
- Multiple Workspaces follow modern best practices and are easier to iterate on using the CLI and standard tools like Git.
Migrate from prefixes to using Workspaces
Previously, to deploy production and staging resources to the same Workspace you would run commands like these from the CLI:
Deploying with --prefix
tb push datasources/events.datasource --prefix staging
tb push datasources/events.datasource --prefix pro
These commands would create two resources in the same Workspace: staging__events and pro_events. Then you'd use different data on each Data Source to simulate your production and staging environments.
How does this work with Workspaces?
- Create production and staging Workspaces
- Switch among them from the CLI
- Push resources to any of them
That way you have fully isolated staging and production environments.
Create Workspaces
tb workspace create staging_acme --user_token <token>
tb workspace create pro_acme --user_token <token>
Once created you can switch between Workspaces and push resources to them.
When working with multiple Workspaces you can check the current authenticated one with tb workspace current or alternatively you can print the current Workspace in your shell prompt.
Create Workspaces
tb workspace create staging_acme --user_token <token>
tb workspace create pro_acme --user_token <token>
To push resources to the staging Workspace:
use staging
tb workspace use staging_acme
tb push --push-deps
To push resources to the production Workspace:
use pro
tb workspace use pro_acme
tb push --push-deps
Next steps
- Learn more about working with version control.
- Learn how to integrate Workspaces with Git in a Continuous Integration and Deployment (CI/CD) pipeline.